


Steal This Recipe: Microwaveable Chocolate
I'm giving you permission to use the microwave! Plus how to make chocolate ganache in under one minute, and my recipe for café con leche brownies ☕️


Chocolate isn't just an ingredient in my kitchen – it's been part of my life practically since birth. My story with chocolate begins with my childhood in the Dominican Republic, where cacao trees grew in our family's backyard. While we weren't farmers ourselves, we currently supply cacao to local vendors throughout the region. Those early years gave me an intimate understanding of chocolate from bean to bar — the careful sun-drying process, the fermentation, and the patience required to transform raw cacao into something special.
Years later, I worked alongside Jacques Torres, aka Mr. Chocolate. Under his guidance, I learned the next chapter of chocolate's journey: how to transform tempered chocolate into glossy perfection, and how to make it shine in everything from cute bonbons to show-stopping desserts.
I'm sharing some of my favorite chocolate wisdom, drawing from both my roots in the Dominican Republic and my professional journey. (And stay tuned for our next newsletter, where I'll show you how to make a spectacular cacao nib liqueur!)
Today we’re covering:
How to make chocolate ganache in under 1 minute
How to make a food cost-friendly fudge sauce
How to temper chocolate with a microwave
Why you should add water to your chocolate (No I haven't lost my mind)
My recipe for Café Con Leche brownies (!!)
Special Announcement!

D.C friends, I have a special sweet treat announcement for you all!
To celebrate Women’s History Month, join me for a special Bodega Bakes pop-up the Smithsonian’s National Museum of African American History & Culture’s Sweet Home Café! Every Friday in March, the museum is featuring my pastries and hosting me for two book signings on 3/14 & 3/28 from 10-12pm.
Come celebrate, grab a treat, and get your copy of Bodega Bakes signed! See you @nmaahc. 💜🍪
Treats available Fridays 3/14, 3/21 & 3/28 prices vary, limited availability.
Tickets to enter the museum are needed but dont worry they are free.99!

Yield: 12 brownies
To make café con leche brownies you’ll need:
1 ½ cups (300 grams) granulated sugar
1 cup (2 sticks/225 g) unsalted butter, melted
2 teaspoons vanilla extract
4 large eggs
9 ounces (255 g) 63% bittersweet chocolate chips
2 cups (280 g) all-purpose flour
1 cup (227 g) mascarpone
6 tablespoons plus 1/2 teaspoon (50 g) ruby cocoa powder from Guittard
¾ teaspoon kosher salt
¼ teaspoon baking powder
1 tablespoon instant espresso
Optional: add a sprinkle of flakey sea salt
Preheat the oven to 350ºF. Line a 9 by 9-inch baking pan with parchment paper
In a large bowl, whisk together the sugar, melted butter, and vanilla. Add the eggs one at a time, whisking until the egg is well incorporated after each addition and whisk until smooth.
Using a spatula, stir in the flour, cocoa powder, chocolate chunks, salt, and baking powder until combined.
Pour the batter into the prepared pan and smooth out the top with the spatula.
To a bowl add your instant espresso and 1.5 teaspoons of hot water and whisk together until your espresso is dissolved. Add your mascarpone to your bowl and whisk until your espresso is incorporated.
Add dollops of your espresso mascarpone to your brownie batter, swirl, top with your optional flakey sea salt and bake for 40 to 50 minutes, until a cake tester inserted into the center comes out only slightly gooey. Remove from the oven and let cool in the pan for at least 30 minutes or up to an hour before cutting into squares. Store in an airtight container for 3 to 4 days, or in the freezer for up to a month.

I give you permission to use the microwave.

People hate on this, but a microwave is one of the most versatile tools in the kitchen. If you have a sous vide, you should have a microwave.
Besides being a great tool for cooking (see below), it’s also great for warming bakes— ten seconds in the microwave and a cookie tastes like it was baked fresh to order. At Kith and Kin, I served a chocolate rum cake. While I could have served it cold, when you heat it for 10-15 seconds in the microwave, you’re tempering the butter, you’re reactivating the warming spices, and you’re giving your palate a different mouthfeel than you get with cold rum cake.
(Side note: I’m not saying microwaving bad pastries will make them taste good. Don’t make bad pastries and try to microwave them.)
How to Temper Chocolate in the Microwave
A lot of people are intimidated by chocolate because they do not want to bring out a double boiler. I know how to temper chocolate on a marble slab, using a double boiler and my favorite: the microwave. Here’s the microwave method, from my cookbook Bodega Bakes.
For this method you’ll need 20 ounces of chocolate—
Place 10 ounces (280 g) of the chocolate in a microwave safe-bowl and microwave it on high in 15-second intervals, stirring occasionally to prevent the chocolate from overheating and burning in one spot. (If this does happen, do not mix!!! Fish the burnt chocolate out with a clean dry spoon and remove it from the bowl. Then use the residual heat to melt the rest of the chocolate.)
Continue until the chocolate is halfway melted, with unmelted pieces of chocolate floating in a pool of liquid chocolate.
Vigorously stir so the residual heat will completely melt the rest of the chocolate.
Check the temperature of the melted chocolate— should reach 90ºF to 100ºF, but no hotter than this!
Add the remaining chocolate to the melted chocolate in batches until the temperature drops to 80ºF to 82ºF for dark chocolate, 75ºF to 77ºF for milk chocolate, or 70ºto 75ºF for white chocolate or flavored chocolate with a high cocoa butter percentage.
The heat of the liquid chocolate will not melt all the additional chocolate.
Place the bowl in the microwave and microwave on high in 5-second bursts, stirring after each, until the temperature of the melted chocolate is
84ºF for dark chocolate,
81ºF for milk chocolate,
or 79ºF for white chocolate/flavored chocolate.
To test the chocolate, dip the tip of a paring knife or mini offset spatula into the melted chocolate and refrigerate the knife for 5 minutes to set. If the chocolate is properly tempered once set, it should easily pop off the knife and make a loud snapping noise when it does; it should be shiny underneath where it came in contact with the metal surface of the knife; and it should not bend when broken. Use for your favorite recipes that require tempered chocolate.

How to make chocolate ganache in under 1 minute [video]
Chocolate ganache recipe:
3 ½ ounces (100 g) dark chocolate, chopped (½ cup)
1 tablespoon light corn syrup
Pinch of kosher salt
½ cup (120 mL) heavy cream
To a microwave-safe bowl, add your cream to your chocolate and heat up your mixture for 30 seconds. Remove from the microwave and give it a hearty stir, add your mixture back into the microwave for an additional 30 seconds. This is when were going to let carry-over cooking do its magic, keep stirring until your mixture emulsifies and becomes glossy.
I like to wait a bit or quick temper the ganache (by coating the whole bowl with the ganache so that the surface area of the ganache increases, and the “thin” layer of ganache on the side of the bowl cools down faster and “seeds” the rest of the chocolate mixture in the bowl.)
Once slightly cooled down to 98ºf your ganache is ready to be used for pouring onto cakes etc.
For filling or whipping allow your ganache to cool down to 93ºf - 95ºf or cooler than your body temperature.
This is a 1:1 ganache ratio
What to do with chocolate ganache:
Ganache is an easy way to elevate your desserts, and it’s super versatile. Use it as a filling for cakes, bonbons, or truffles. Whip ganache for frosting. Fill a tart with it. Top a Boston cream pie. Dip your cupcakes into it.
How to make cost-friendly chocolate sauce
The same mouthfeel as high-end ganache, but less expensive to make.

Inexpensive chocolate sauce:
1 cup (240ml) water
¼ cup (50 g) brown sugar
¾ cup (240 g) corn syrup
1 cup (100 g) cocoa powder
Prepare a bowl with your sugar, corn syrup and cocoa powder and whisk to incorporate and set the mixture to the side. In a microwavable-safe cup or container warm up your water for 1-1.5 minutes.
Slowly add your water to the bowl and whisk, moving slowly to ensure that you incorporate the water with the cocoa mix. continue adding your water and whisking until your sugar has dissolved.
To warm up your fugazi chocolate sauce, just give it a few short bursts in the microwave until viscus again.
Note: Make sure that you do not overheat your water, theres something that is called superheating, which in essence just means that your water will heat in the microwave past the point of “boiling” but will remain stagnant and appear to not be hot. This can cause the water to have an sudden release which can be f*cking scary. To prevent this, heat your water in short bursts stirring and checking on the temperature with your finger until it feels warm to the touch.
If this sounds scary to you, just boil the water in a sauce-pot, haha I wont judge.
How to use $$ chocolate sauce
Pour it on ice cream or on top of cake. Use is as a sexi dip for fruit. Boost store-bought desserts. Use it to write ‘Happy Birthday’ on a plate. Fill bonbons, pour over your yellow cake, make whipped ganache or chocolate tarts. :)
Tell us how you used our 1-minute chocolate ganache or inexpensive chocolate sauce!
ADD WATER TO YOUR CHOCOLATE:
I know, I sound crazy, but I’ve saved the most unhinged tip for last— I give you permission to add water to your chocolate.
This trick works with either tempered or untempered melted chocolate.
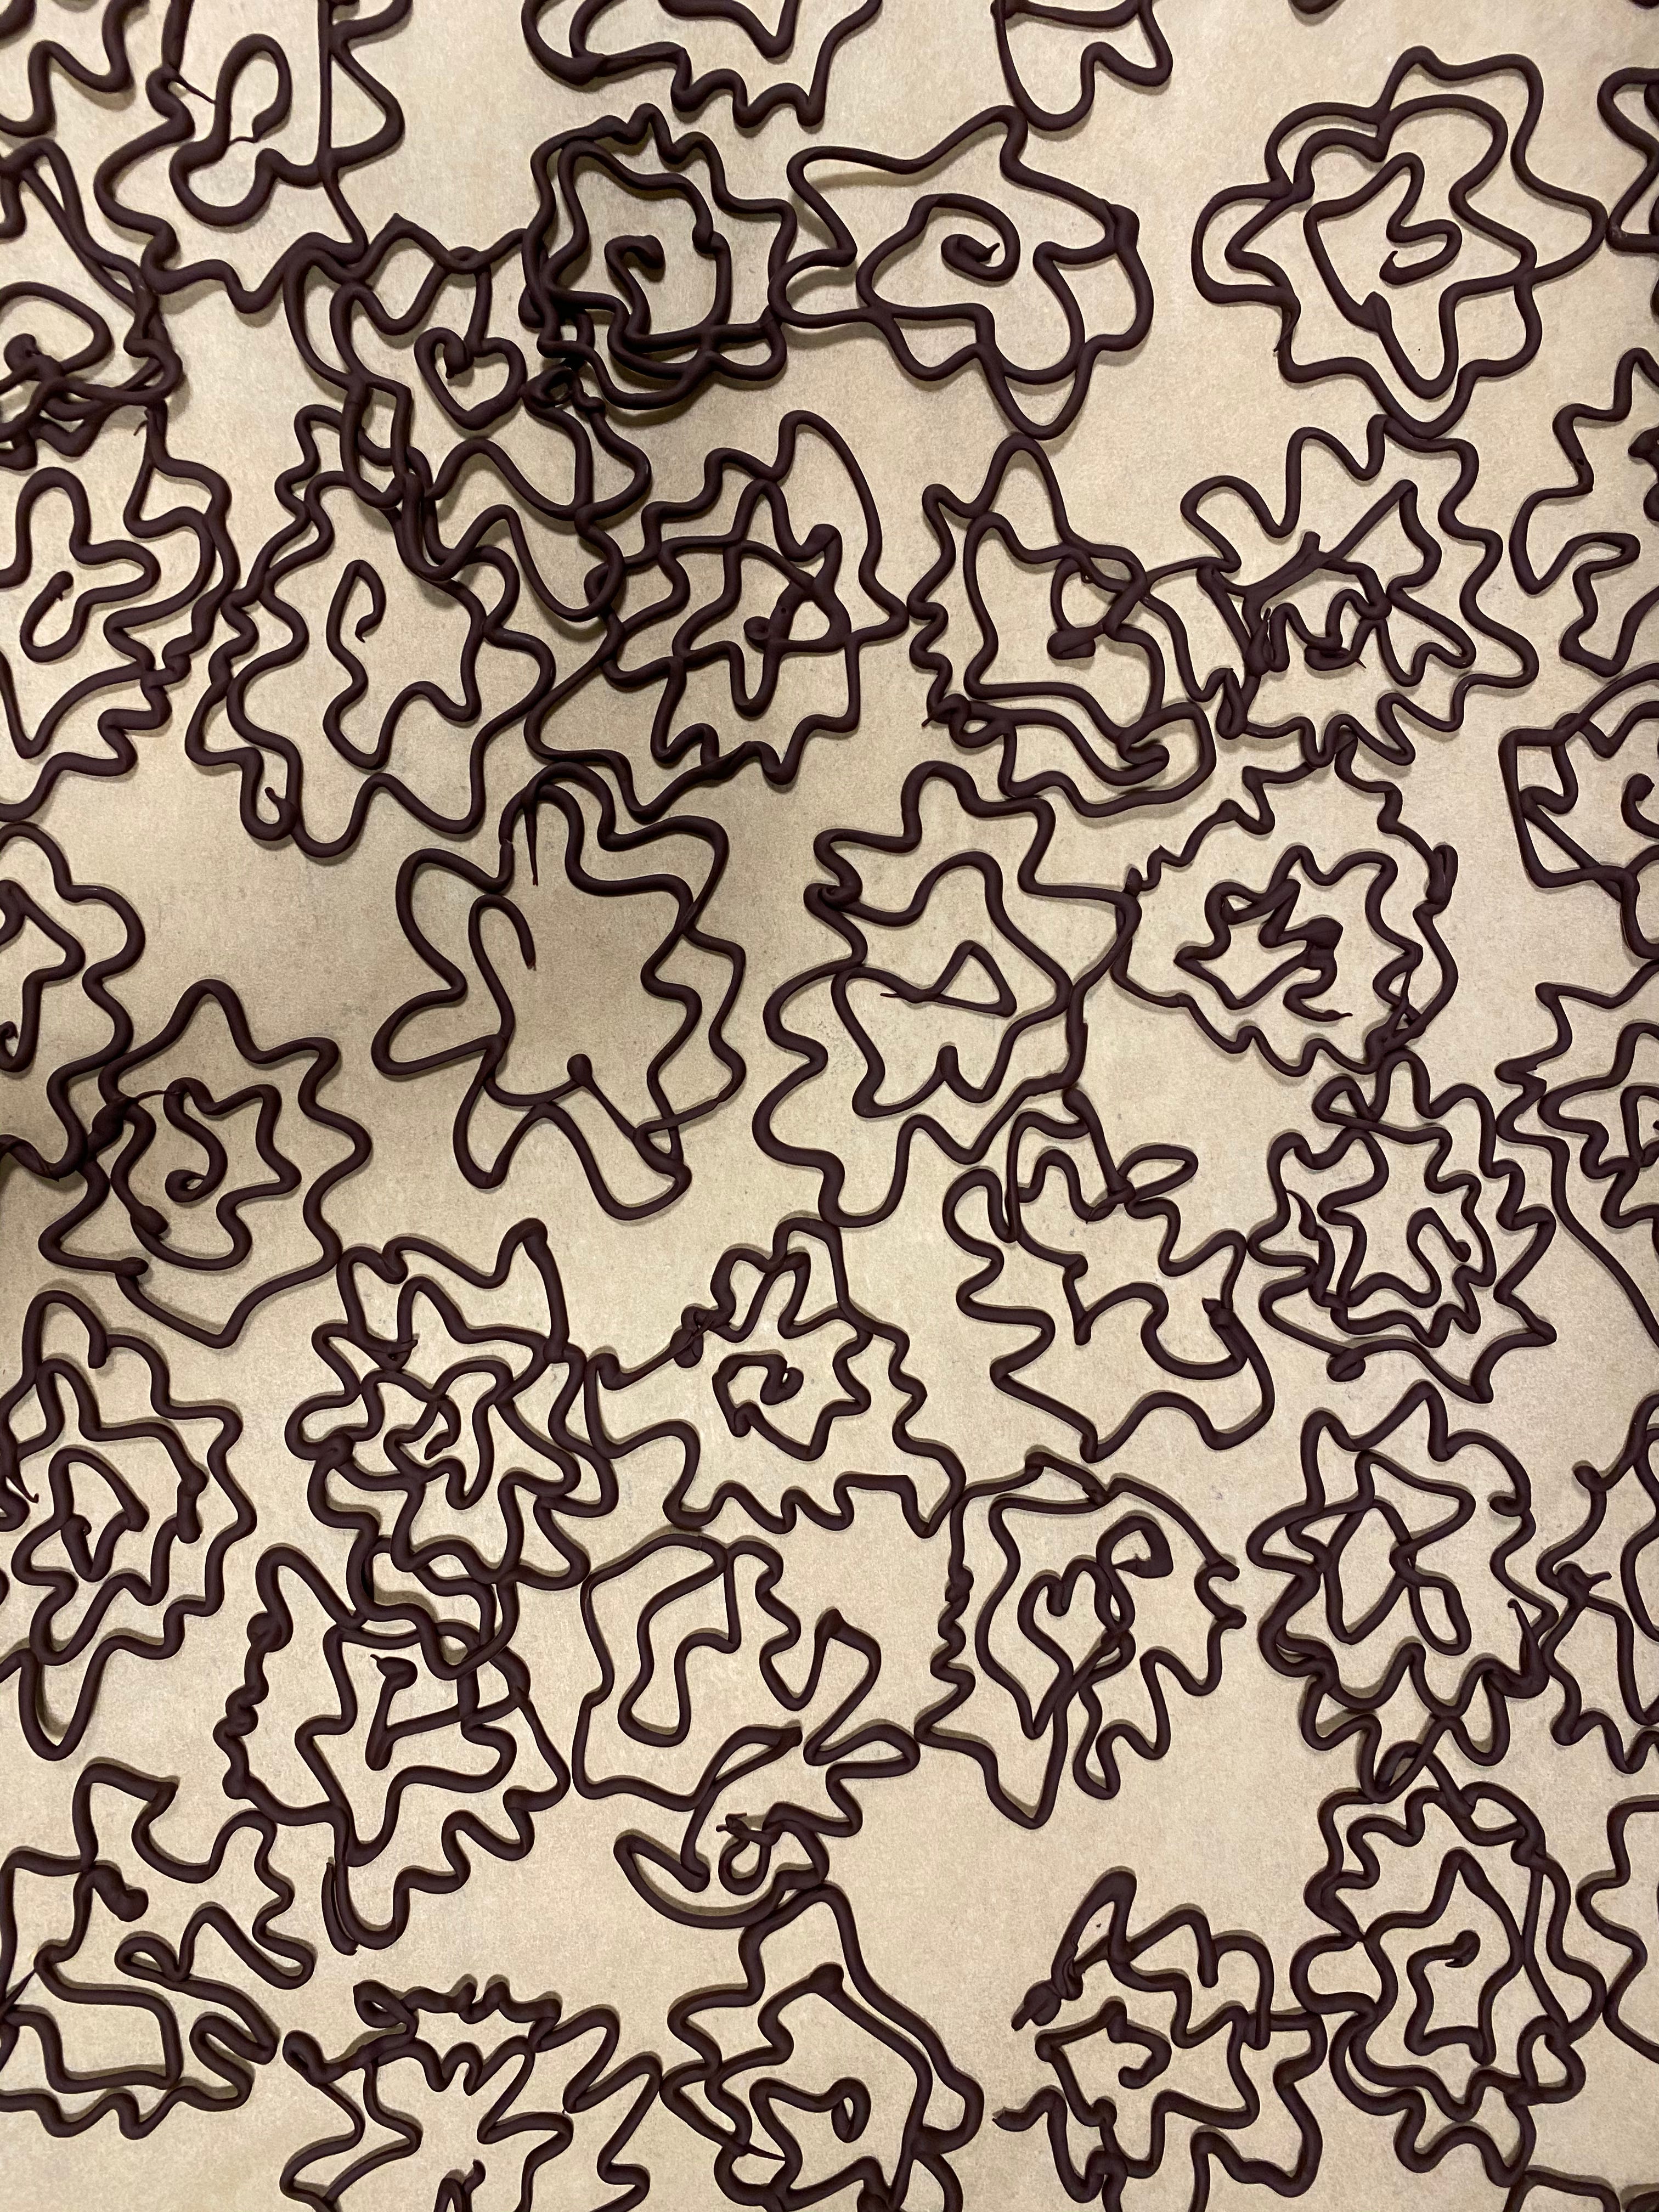
Lets’ scale this down to a less scary ratio: take ½ cup of melted chocolate and add 2-3 drops of room temperature water. What we’re essentially doing is a controlled chocolate seize — we are tightening up the fat content in our chocolate, making a reaction that will give us a harder chocolate that we can use to make edible decorations.
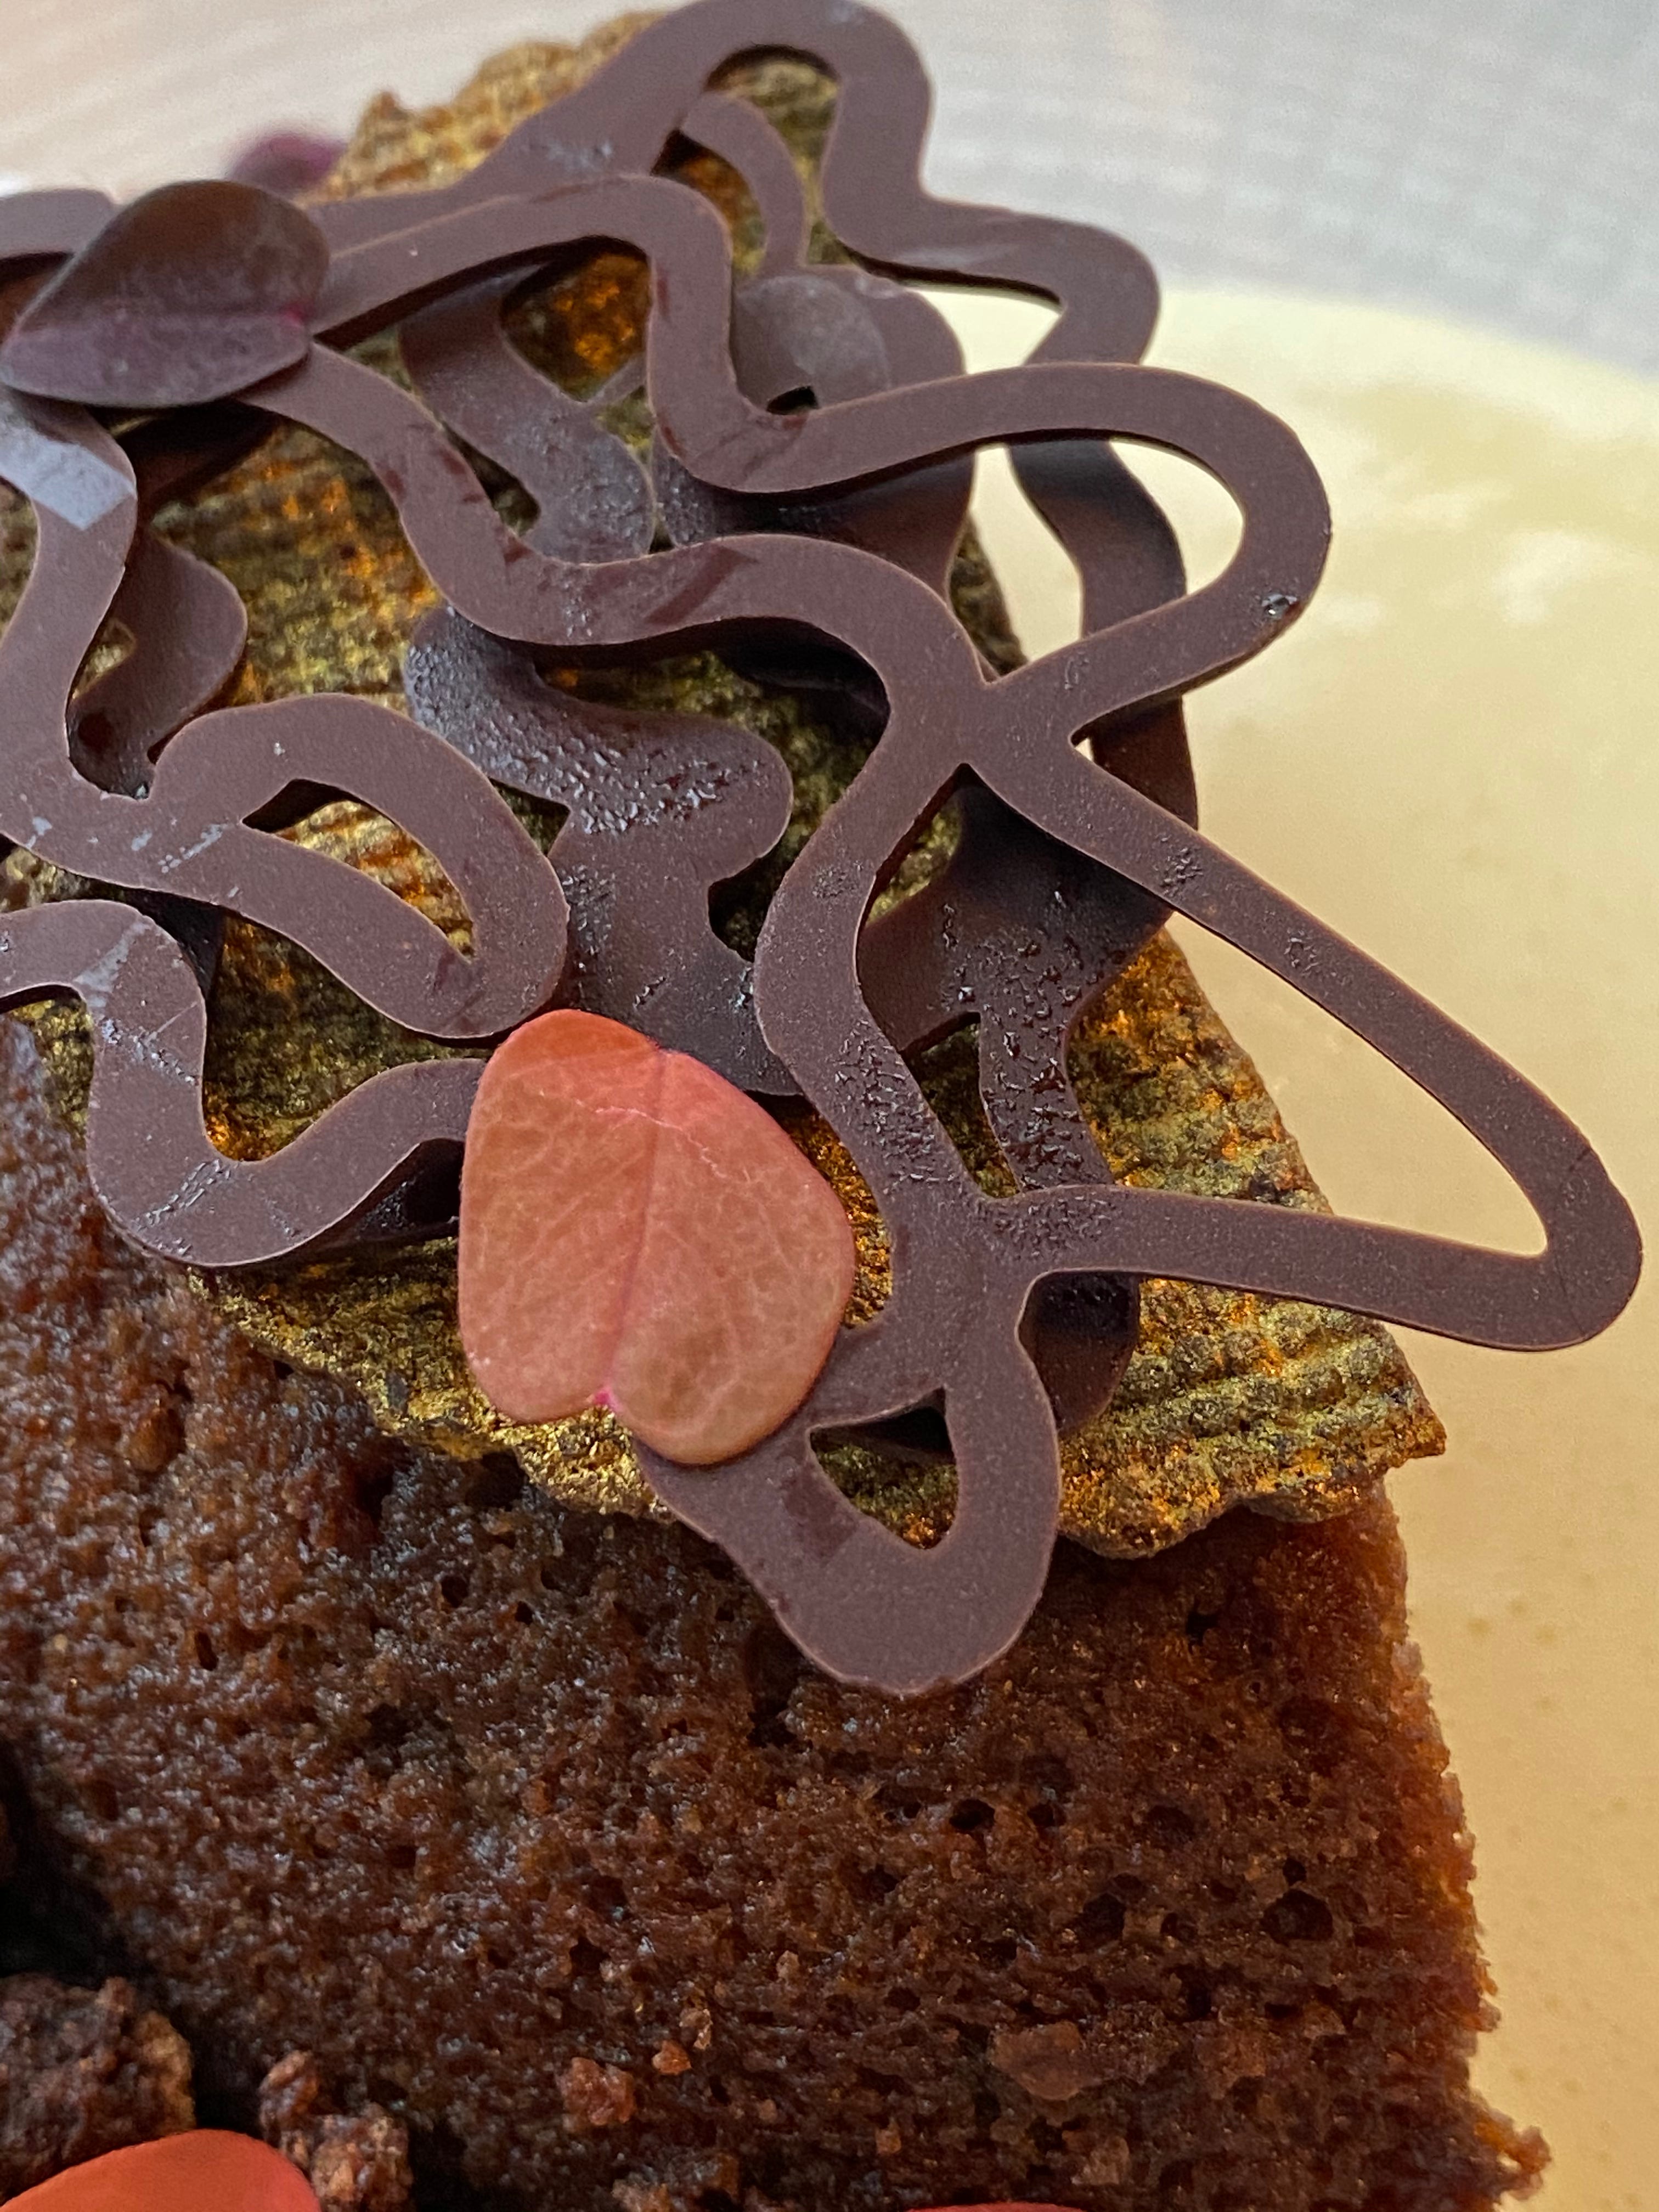
This reaction prevents the fat in the chocolate from melting when it encounters our body temperature — which is, side-note, the perfect temperature for tempered chocolate. The technique is best used when making flat lay designs, like this photo:
Thank you for reading!
xoxo,
Paola